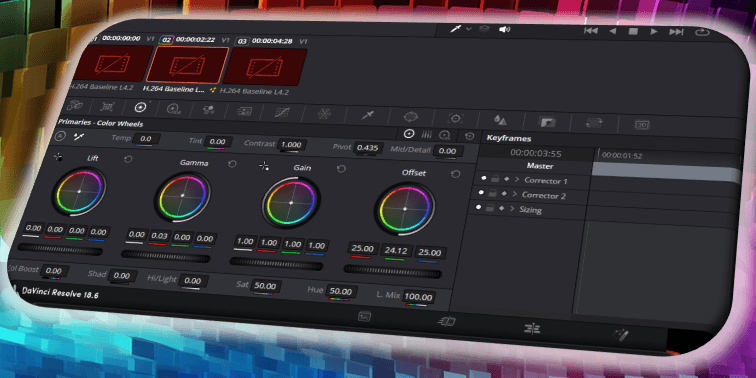
How-to Create Custom LUTs in DaVinci Resolve
Last UpdatedOctober 7, 2023
by
Anthony Gallo

Learning how to create your own LUTs (Look-Up Tables) can be a fun way to add a unique touch to your edits.
Custom LUTs allow you to apply the same color grading across different clips and projects too which can improve branding across your releases.
This DaVinci Resolve tutorial will walk you through the process of crafting a creative LUT, testing it on various clips, and exporting it for later use!
Initial Setup
The focus is on crafting a creative LUT designed for use over a wide range of shots, rather than a technical or custom LUTs intended for specific color space conversions. Let’s get into it! 👇
1. Select Assorted Clips
The first step is to choose an assortment of different clips. This helps ensure that the LUT you create will be versatile and useful in various lighting and color situations.
Get some footage from morning shots, afternoon shots, warm lighting, and any other type of shots you frequently use in your content.
Once you’re happy you’ve found a wide variety of clips, place them on the timeline and navigate over to the Colors page.
2. Basic Creative LUT Rules
The LUT we’re working on creating is a creative LUT, not a technical or transform LUT. This means we’re making coloring decisions that apply globally across all the clips.
Avoid using qualifiers, masks, windows, sharpening, or grain adjustments. Focus on color, contrast, and saturation.
3. Consider Color Space
When creating a LUT, be mindful of the color space you're working in. For creative LUTs, it's advisable to work in Rec. 709.
If you're working in a different color space like Log, consider adding a color space transform node and label it as "delete" because it won't be part of the exported LUT.
Crafting Your LUT
Before getting started it's a great idea to get familiar with fusion effects in DaVinci Resolve. If you're already a pro then great! Let's go!
1. Add Nodes
Add a few nodes in the node editor to start making your creative adjustments. Label each one appropriately so you can keep track of everything.
2. Adjust Custom Curves
Start with editing the curves to add contrast and saturation to your image. You can use editable splines for more nuanced control.
Slight adjustments here can make a huge difference so take it easy. A simple ‘S curve’ is a good place to start.
3. Hue Adjustments
Next, go into the Hue vs Hue tab and make adjustments to the hues you want to alter. This is your chance to swing colors in directions you prefer, such as moving blues towards teal.
Get creative and spend time playing with different adjustments here, check back on various clips to see the impact your changes will have along the way.
4. Saturation Adjustments
Add another node for saturation adjustments.
Be mindful not to go overboard as LUTs apply globally, and too much saturation could be detrimental to some of your clips.
5. Shadow, Mid-tone, and Highlight Colors
Create another node and label it "Primary" to adjust the shadow, mid-tone, and highlight colors. Again, keep in mind that every image is different, so try to remain versatile.
6. Test on Different Clips
After making these adjustments, go back and test your LUT on different clips. Look out for any inconsistencies or undesired changes in color.
Exporting Your LUT
Once you're satisfied with how the LUT is affecting your different clips, you can export it for use in other projects. Don't forget to remove any nodes labeled "delete" before exporting.
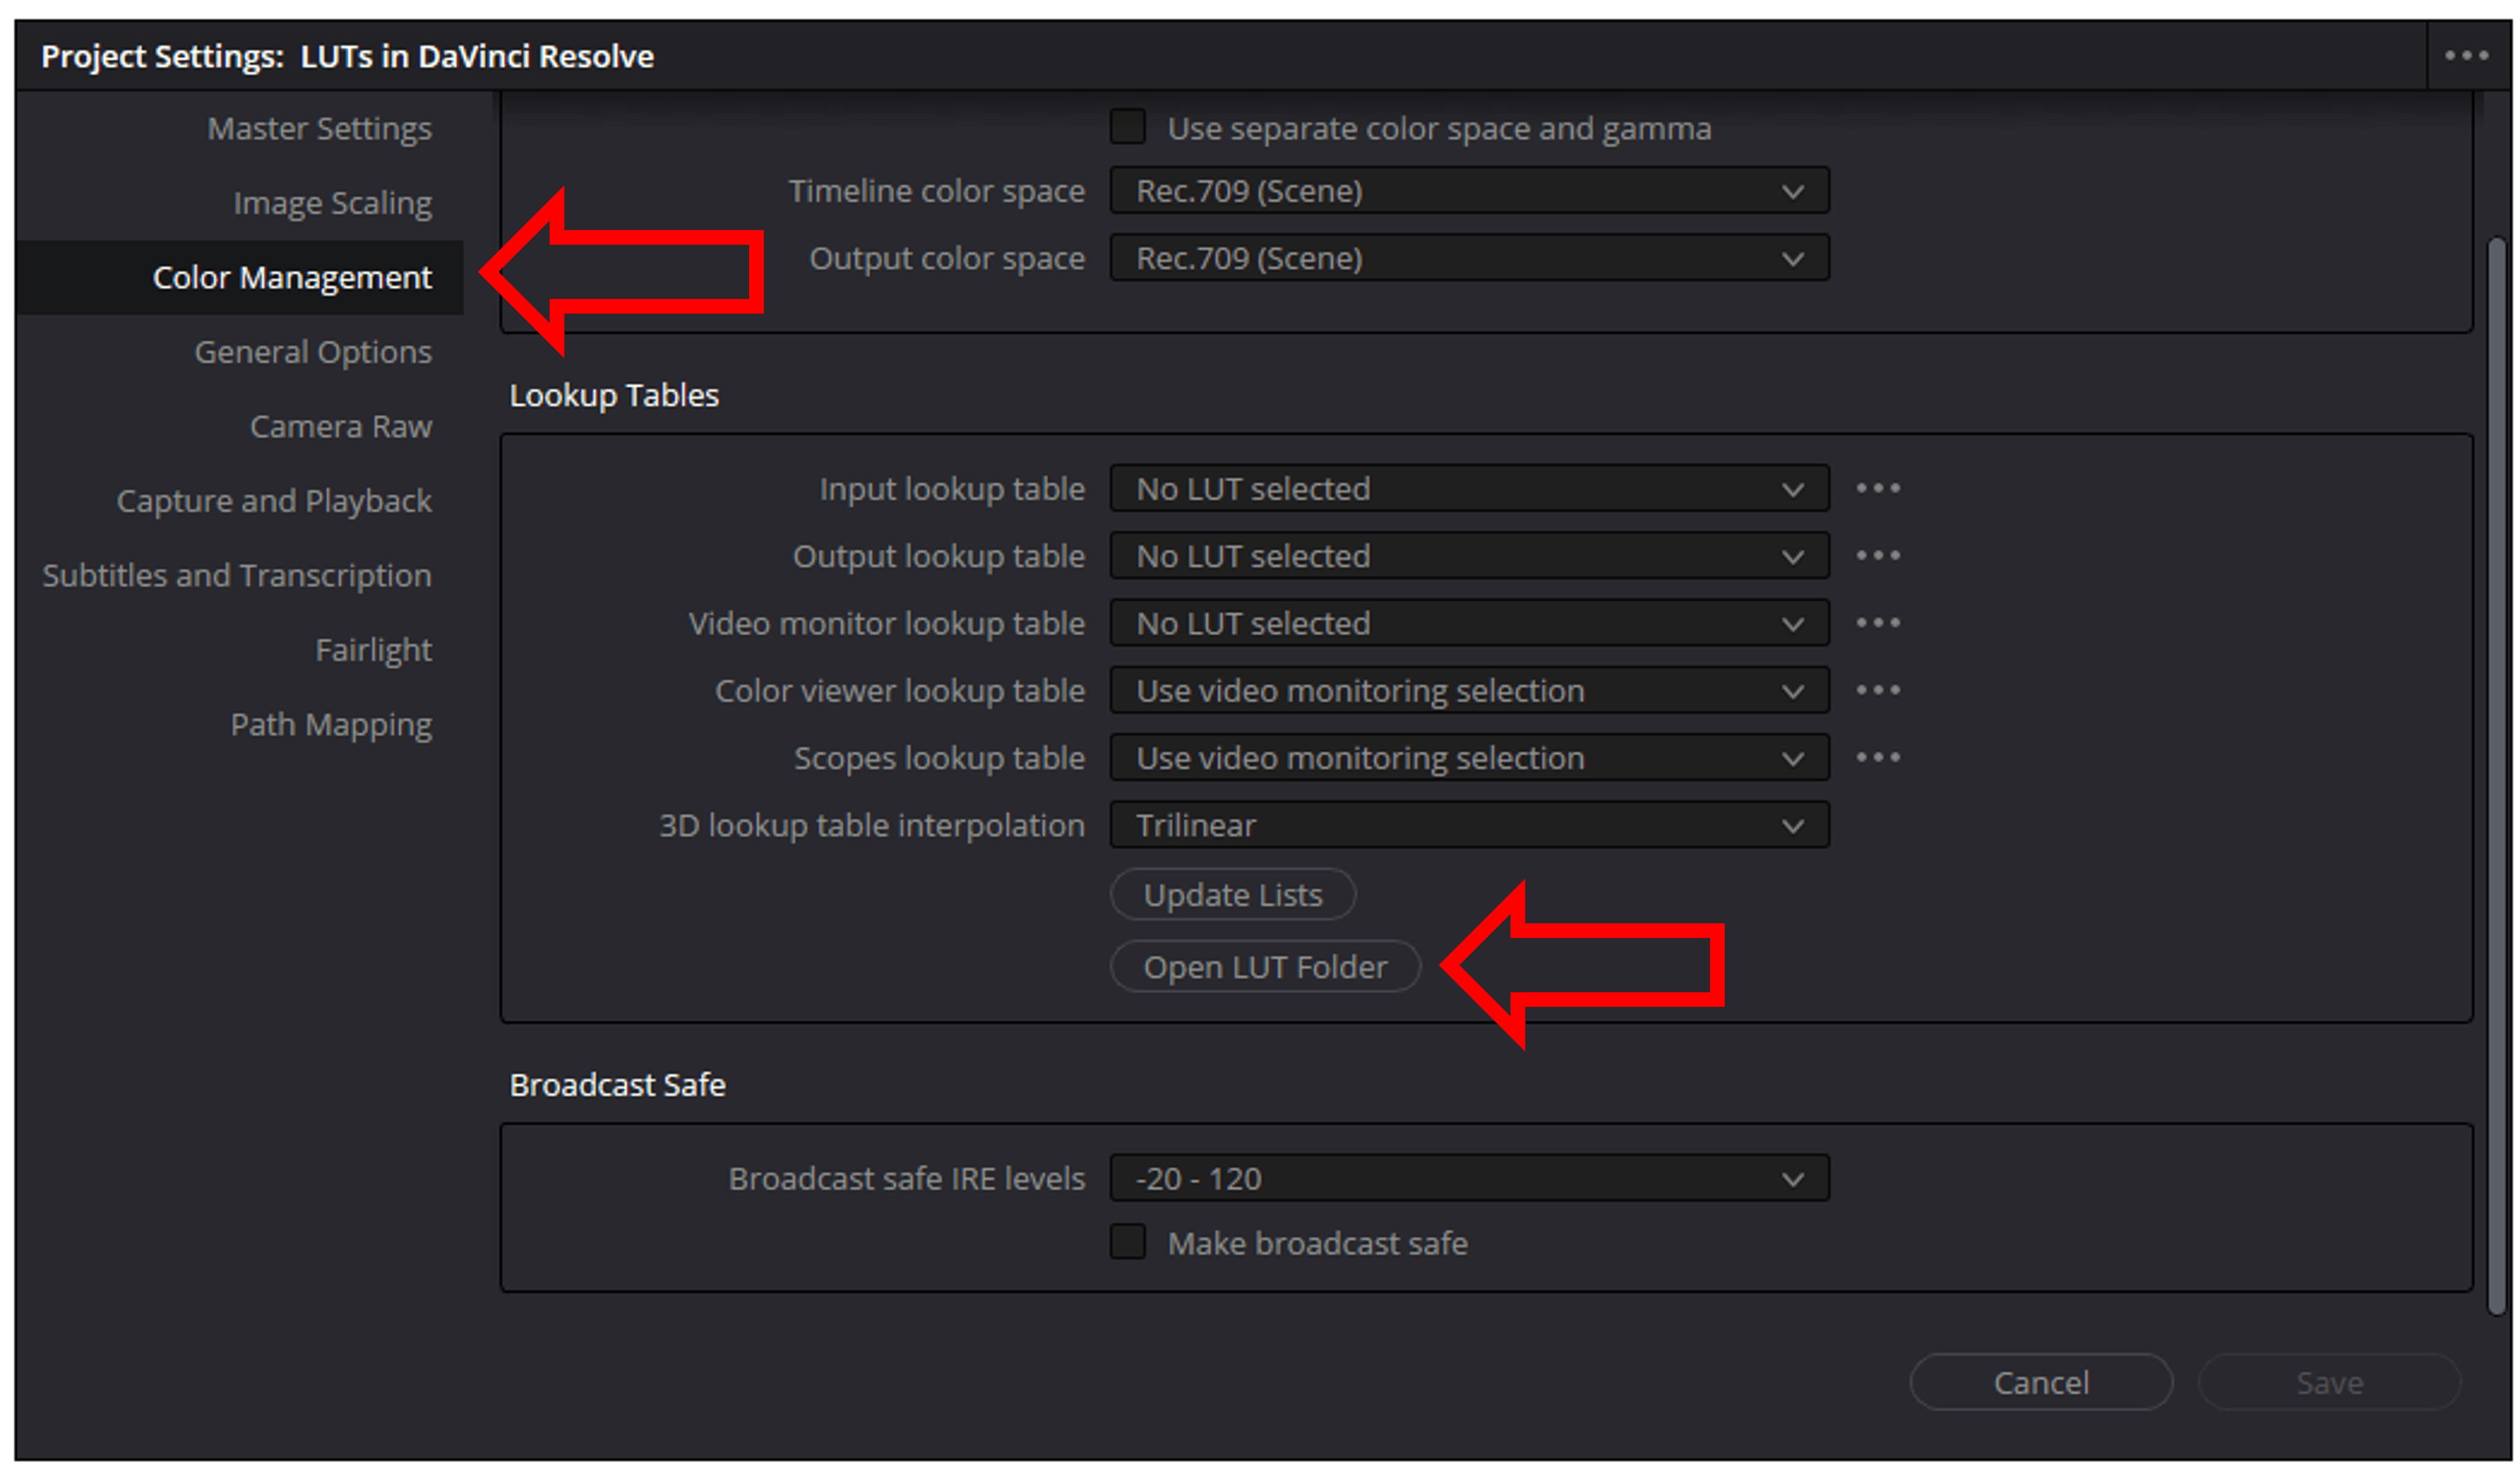
If your new LUT isn’t available in your next DaVinci Resolve project simply import your LUT through the Project Settings Color Management tab.

Additional Resources
If you’re looking for professional grade LUTs to import for your next project try out some of the options found on Content Creator Templates! There’s a massive range of custom LUTs, transitions, lower thirds, overlays, and much, much more.
If you want to further customize your LUTs you can check out this great video tutorial on custom LUTs on YouTube.
Final Thoughts
Creating your own LUTs in DaVinci Resolve is a valuable skill that can save you time and maintain consistency across projects. With this guide, you should be well-equipped to start making your own creative LUTs.

Anthony Gallo
Anthony Gallo is the cofounder of ContentCreator.com and lead educator in the online course 14 Day Filmmaker, that has taught over 100,000 aspiring creators how to shoot & edit professional video content with PRO and SMARTPHONE cameras.
Having created content in a variety of industries including commercial advertising, weddings, music videos, and hundreds of youtube videos, Anthony has amassed over 50 million views online and is constantly looking for new and engaging ways to create content and help others master this amazing craft.